The Fibro Majestic is not only my humble home renovation Blog but a place were I can make a record of my journey. It is also a place to share ideas, information and creative output (whatever form that may take). I hope you enjoy reading it or just perusing the images and I hope you feel inspired to post a comment or add yourself as a follower.
Spirit levels and setsquares are certainly very handy and important tools around the house and shed, insuring your work is straight and accurate. But how can you be sure of the accuracy of these tools?
To test if your level is still giving you an accurately reading place it against a wall and draw a line along the top edge. Turn the level end for end and place it against the line you have drawn. If the reading matches the line on the wall the tool is accurate, if not it may need adjusting or replacement. Testing a square uses the same principle, place it against the edge of a straight board and draw a line then flip it over and check if the blade matches the line.
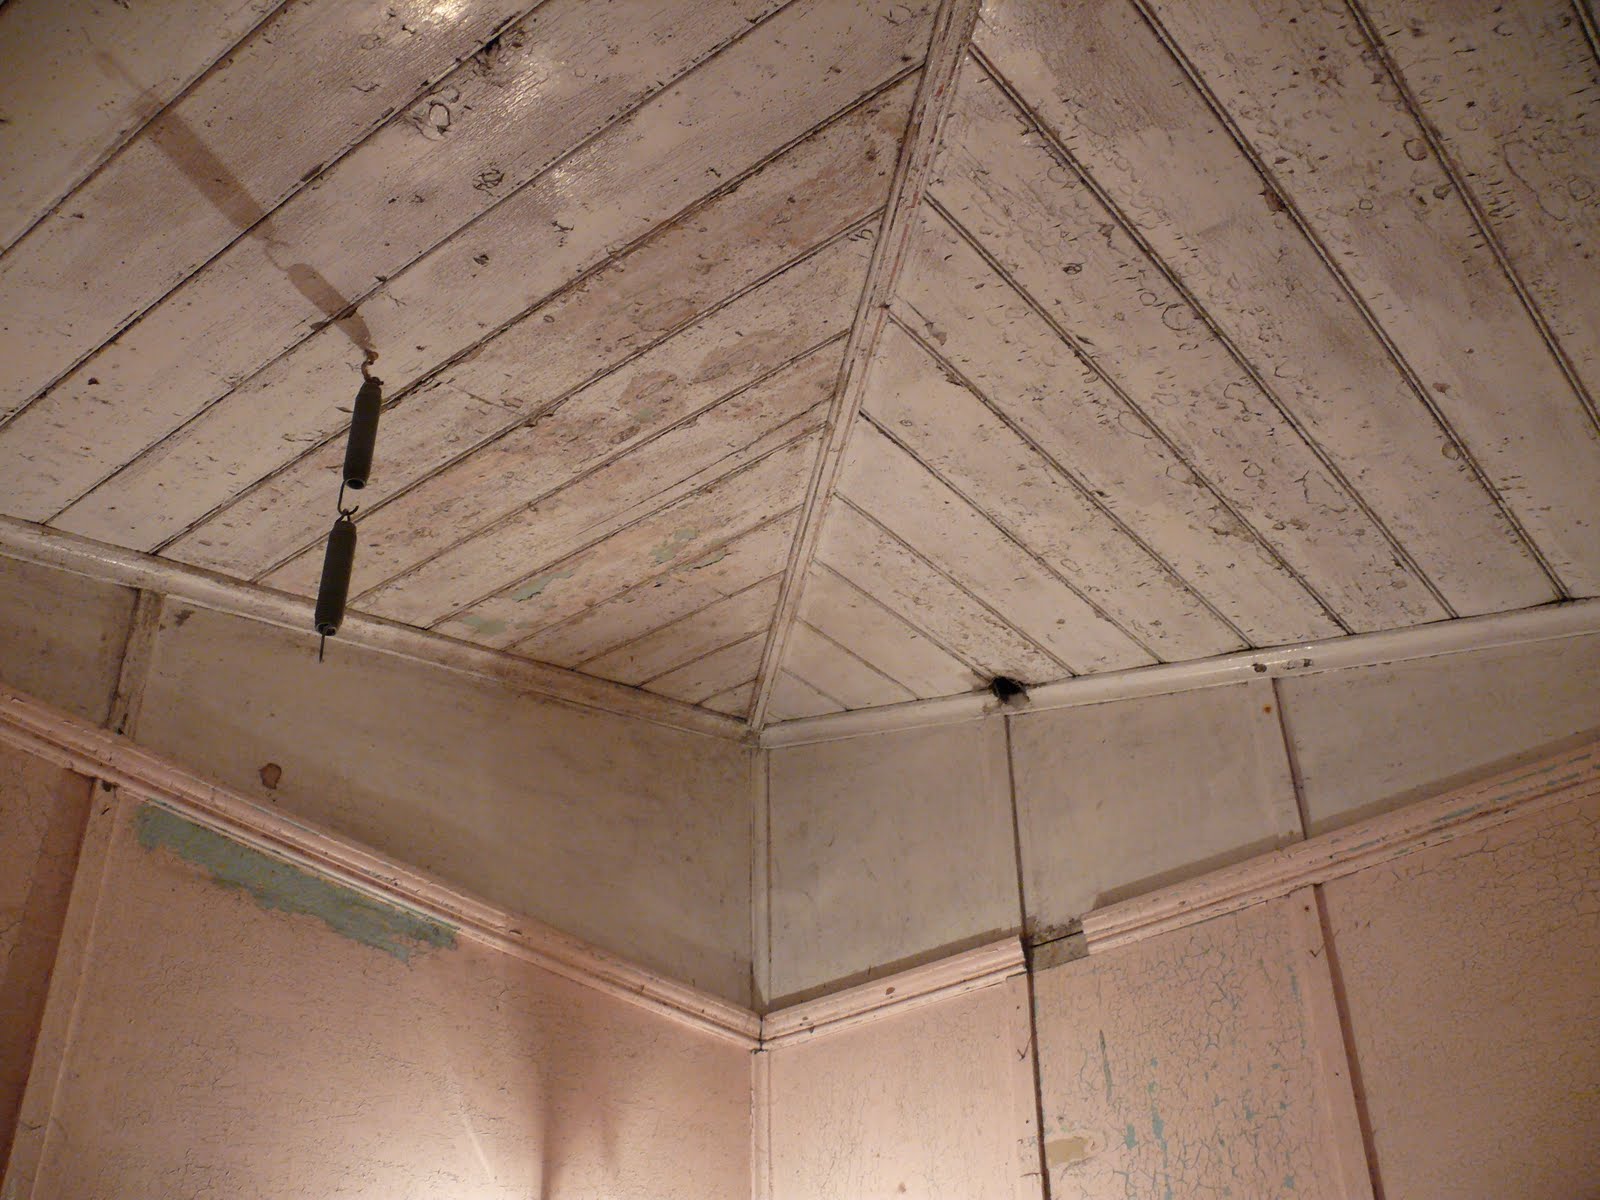
When my 100yr old house was purchased it was totally unrenovated and whilst most living spaces could be utilised as they were (at least for the meantime) the bathroom was a total disaster area that had to be tackled immediately.
My design philosophy was to create a traditional styled bathroom, in keeping with the era of the home, with a touch of the exotic and all the mod cons of a modern bathroom space.
Before (Arrhhh)
Bathrooms, along with kitchens, are usually the most expensive of rooms to renovate but by combining some ‘do it yourself’ with some ‘do it for me’ and some carefully bargain shopping thousands of dollars were saved. DIY or call in a tradie?
Stay tuned for details of what was done and how I did it.
Ok, ok, so I am not talking about the kitchen in the Fibro Majestic today but sharing more of those ideas I spoke about on the radio segment last week. There is some shots below of a kitchen I did makeover on in a weekend for my mum a year or so ago, it is all done with paint and new handles, it cost just a couple hundred dollars but it helped her sell her house for a better price in a difficult market.
Kitchen revival
On my radio segment last Friday I mentioned 5 quick fixes to give your kitchen a fresh new look without the expense of a complete replacement. The 5 ideas listed below are only recommended however if your cabinets are still sound otherwise you may be wasting time and money and a replacement kitchen may still be the best option.
Replace or repaint cupboard doors and draw faces.
Replace knobs and handles and taps.
Resurface or replace benchtops.
Retile the splashback, or cover it with a new glass one.
Lay cushion backed vinyl flooring over existing floor
Today I wanted to speak about the first and second options of the list above as these are probably the easiest yet most effective of these ideas.
If your old doors are in reasonable condition the more economical way to go is to simply repaint them. This is simply a mater of removing old handles and filling the holes, repairing any damage and replacing any loose edges before lighting sanding. Apply a primer and then giving the doors two coats of your desired topcoat. This option will work for both timber and melamine doors provided you select the correct primer. Ask your paint supplier to show the range of melamine and laminate primers on offer, for timber I recommend a shellac or oil based primer.
Even budget vinyl wrapped doors can be painted, prime them as above if the vinyl is still firmly adhered to the doors but if it has stated to lift around the edges, peel it of, you may require the aid of a hot air gun to soften adhesive if it proves to be stubborn.
Using quality oil-based enamel paint would be the best choice top coat as it will be tough and hardwearing, however modern acrylics are tough and washable so these would also suffice.
Completely replacing doors is an easy option for any kitchen built in the last 30 odd years because each door is likely to be mounted with concealed hinges. If this is the case each door can be removed from the cabinet and taken to a cabinetmaker’s workshop, select a colour for your new doors and select a style of protective edge band and have the cabinet maker produce facsimiles of your old doors using your selected colours. In the workshop they will also drill the special holes required to fit concealed hinges. Once your new doors are ready for collection all that remains for you to do is return them to their positions and fit a new set of handles. Expect to pay $25 to $65 per, average sized, door depending on the colour and edging selected. Add a further $10 for a pair on new hinges (recommended).
*note, if you’re dramatically changing door colour, cover and infill panels may also need replacing or painting.
Ok, I promised a little information on kitchen refurbishment so I’ll get the ball rolling with this little Q&A I wrote a few years ago, I have tweaked the wording a little bit to make it more relevant but the important information remains the same.
Can you help me Darryl? You installed my lovely new kitchen a couple of years ago and it’s made cooking for my family such a pleasure that almost every meal has become like an episode of Masterchef, I’ve finally conquered some of recipes in my favorite cookbooks. My problem is though, the new cupboard doors don’t seem to line up properly anymore and the ones under the sink even rub together when I close them, how to I make my kitchen look like new again?
As a bit of a kitchen weekend warrior myself I love to get into the kitchen and whip up a bit of gourmet storm, the kids like to score me on flavor and presentation. But sometimes it’s not the knives and spatulas you’ll see me swinging in the corner but a screwdriver. You see many items around the kitchen require maintenance, whether it’s replacing the seal on the oven or fridge, cleaning out the filters of the range hood or replacing a tap washer and the kitchen cupboard doors are one of these items. About once a year I find I have to take a screw driver to the cupboard door hinges and fine-tune them in order to keep the doors all aligned. (At least I get top marks for presentation here).
Over time the cupboard doors tend to sag, especially the ones under the sink at my house, as they’re the ones that seem to be opened and closed the most to access the waste bin and cleaning products. Sometimes we tend lean our weight on the top of the doors a bit to reach into the cupboard and grab stuff. All this only tends to speed up sagging process causing doors to move out of alignment or even come into contact and scrape against each other. It’s annoying and inconvenient but the good news is that the doors are designed to be adjusted quickly and easily with nothing more than a screwdriver. Most kitchens built in the last 25 years or so have what we call concealed hinges. Typically these hinges have 4 adjusting screws, allowing you to make 3 basic adjustments, lateral (side to side), depth (in or out) and vertical (up or down).
This is image shows the door on the left and the cabinet on the right, all adjustment to a door are made where the hinge is mounted on the cabinet.
Lateral. This screw adjustment allows the door to be moved side-to-side.
Vertical. The two top and bottom screws (see 4 also) allow for adjustment of the door in an up or down direction.
Depth. loosening this back screw allows the door to be moved in or out.
Some experimentation and re-adjusting may be necessary in order to obtain perfect alignment but you’ll soon get the hang of it. It is worth noting that many of these types of hinges are manufactured in Europe and may have posidrive screws in them, these aren’t quite compatible with your standard Phillips head screwdriver. You can buy pozidrive tips from your local hardware store for couple of bucks each, they will be identified with the letter PZ on the side, most common screws will take the size PZ#2.
Darryl is a self-taught furniture maker and designer, home renovator and general mr. fixit. After studying film, photography and sculpture at university Darryl worked for many years at Sydney's Museum of Contemporary Art helping to "make the magic happen" behind the scenes. From there he moved into television production, specializing in generating lifestyle and home renovating content. Darryl has completed two previous home renovation and has contributed to numerous DIY publications. Darryl can be heard talking to Tim Webster about "all things handy" on Radio 2UE (Sydney. or 2CC Canberra) every Friday afternoon.
Contact me by email, licencedtodrill@gmail.com or call o411 195 294



 Before (Arrhhh)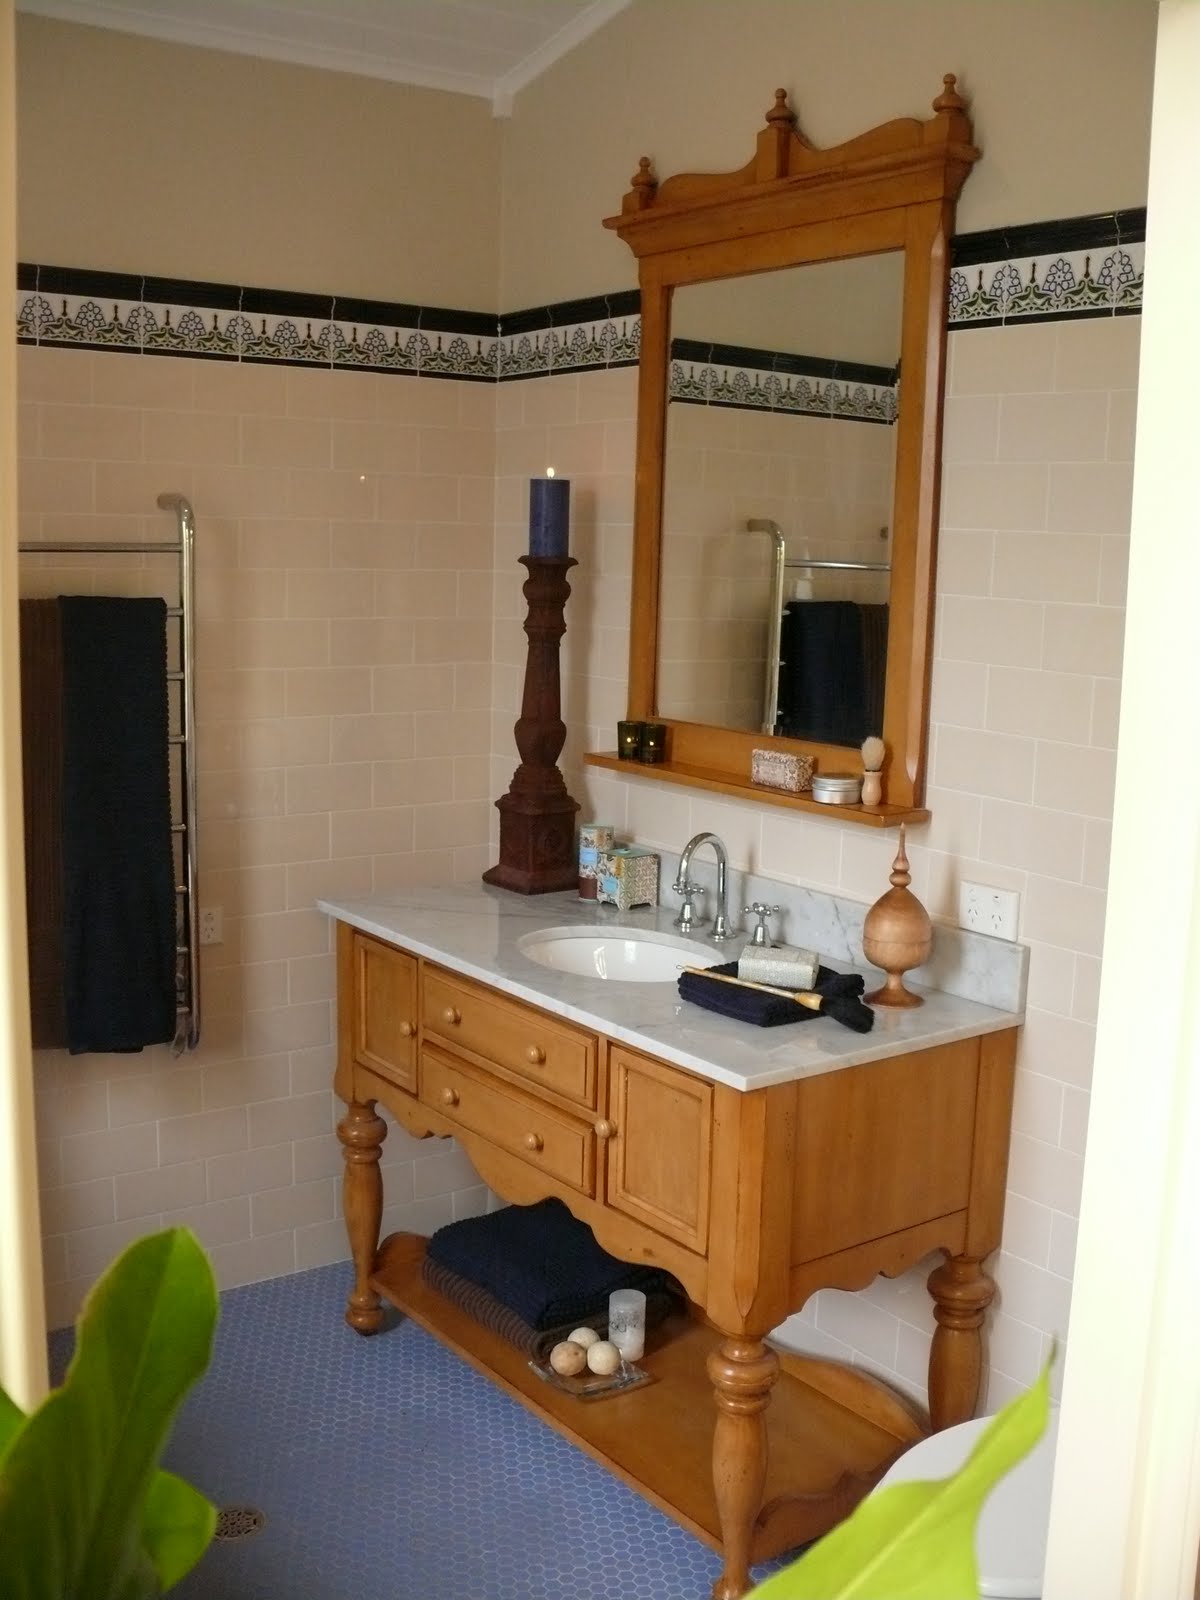


 Posts
Posts


